One of the projects that I had from the interior decorator is to cover a lampshade. I thought, I've never done one, but how hard can it be?
Well, hard, maybe not, but easy, not that either.
Here is the lampshade she needed covered. A side view and a top view.


I read up a little on covering it, but none of what I found seemed to apply to the shape of this shade. Because not only is it tapered, but it also has a curve - kind of like princess seams on a dress.
To make it a little more interesting, the fabric, is a directional print - so if I cut it as one piece, the pattern would lose it's direction.
So I got my handy dandy tissue paper out, and traced just a portion of the shade to get the general shape.
Then I used a leftover piece of curtain lining and cut one out and tested it against the lampshade.
It kind of reminds me of a gored skirt pattern.
I needed four pieces to go all the way around the shade. I cut them and sewed them together using a 1/2" seam, then tested it on the shade. My pattern was a little too big, so I took all the seams in another 1/2" from the previous seam and trimmed the old seam off. That worked like magic!

I pressed all the seams to get them flat - I don't want any bulk in the seams if I can help it.
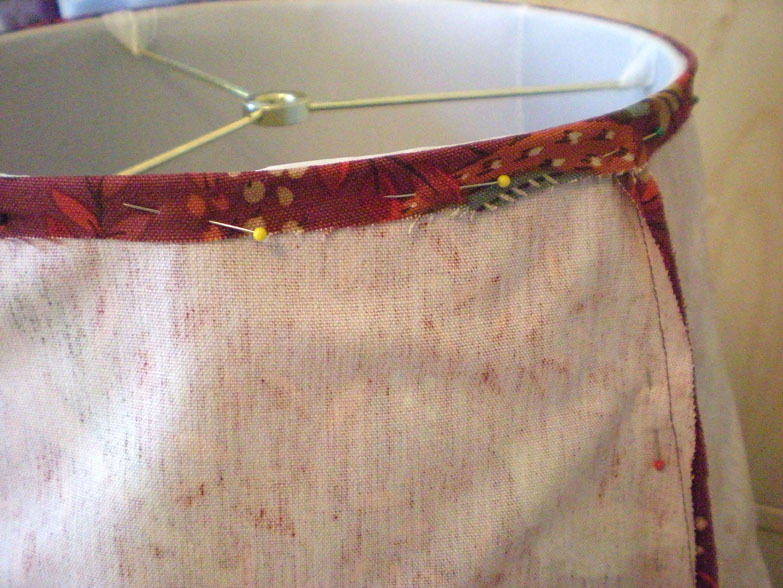
I turned the cover inside out, and turned down the top to create a finished edge.
Then I started pinning the seams to get the shape of the shade. After pinning each seam, I took the shade off, marked and sewed the new seam and tried it on again.
Finally, I felt like the top and sides were fitted as good as I could get them, and I turned up the bottom for a finished edge there.
The last step is to use a fabric glue and glue the top and bottom edges to the shade.
And here is the final product!
I'm not sure I'd want to do one again, but it was an interesting experience!
Happy Sewing,
Susan

 So I got out my book that has the best instructions for calculating the measurements of the fabric and instructions for sewing them with the buckram heading.